One of the biggest challenges for Nigerian businesses and social media managers is staying consistent online. You know you need to post every day — but between client work, power cuts, meetings, and life in general, it doesn't always happen. That's exactly what Rooli's Content Scheduler was built to solve.
With Rooli, you can sit down once, plan your entire week of content, and let the platform post everything automatically — at the exact date and time you set. No reminders. No manual posting. No panic at 11pm because you forgot to post today.
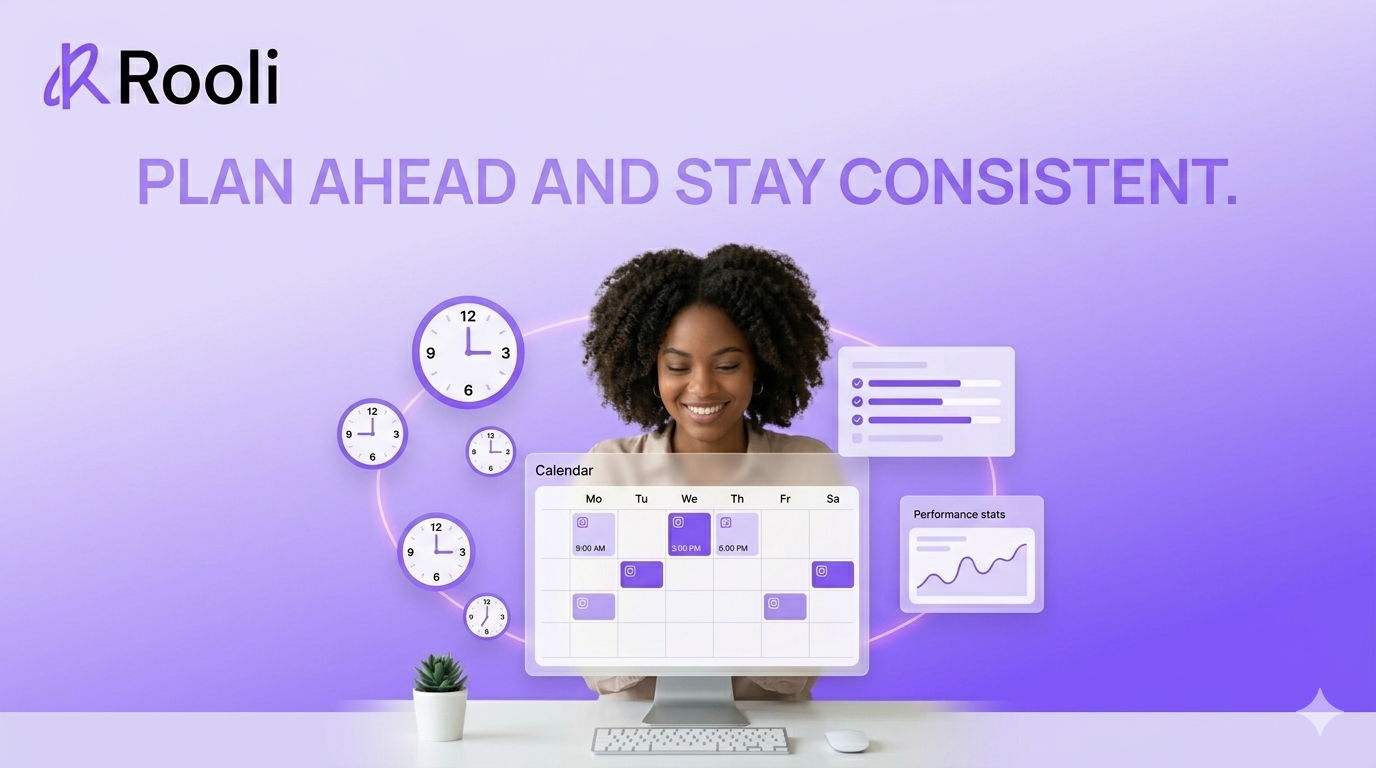
This guide walks you through exactly how to schedule your social media posts using Rooli, step by step.
Before You Start
Make sure you have already:
• Created your Rooli account at rooli.co/auth/signup
• Connected your social media accounts (Instagram, Facebook, TikTok, etc.) — see our guide on How to Connect Your Social Media Accounts to Rooli if you haven't done this yet
• Your content ready — caption, image or video
💡 You don't need to have your content fully written before opening the scheduler. Rooli has a built-in AI Assist tab inside the post creation screen that can help you write your caption on the spot.
How to Schedule a Post on Rooli: Step-by-Step
Step 1: Open the Content Scheduler
Log in to your Rooli dashboard at rooli.co. In the left sidebar, click Content Scheduler. This is your central hub for planning and managing all your content.
On the Content Scheduler page, you'll see a summary at the top showing:
• Scheduled — posts queued and ready to go live
• Drafts — posts saved but not yet scheduled
• Published — posts that have already gone live this month
• Platforms — how many social accounts are connected
Below the summary, you'll see a calendar view — either by Week or by Month. You can toggle between both views depending on how you prefer to plan.
Pro Tip: Switch to Month view when planning a full content calendar. Switch to Week view when you're focusing on what's going live in the next 7 days.
Step 2: Create a New Post
To schedule a new post:
∙On desktop, click the “Create Post” button at the top of your screen or any specific day on the content scheduler , while on mobile, tap the “+” button at the top of your screen or the “+” icon next to any specific day on the content scheduler
A Create New Post panel will slide open. Inside you’ll see two tabs at the top:
∙Compose — where you write your post manually
∙AI Assist — where Rooli’s AI writes the caption for you
Select Compose to write your own caption, or AI Assist if you’d like Rooli to generate one for you. We’ll cover AI Assist in detail in the next article in this series.
To schedule for a specific date, use the calendar to select your preferred date and time. You can also drag and drop existing posts on the calendar to reschedule them.
Step 3: Write Your Caption and Upload Your Media
In the Content field, type your caption. You have up to 1,000 characters. Write the caption the way it should appear on the platform — including emojis, line breaks, and hashtags.
Below the caption field, you'll find the Media section. Click the upload area or drag and drop your image or video file directly into it. Rooli supports:
• Up to 5 files per post
• Images and videos up to 8MB each
• Drag to reorder if you're uploading multiple files
💡 You can continue filling in the rest of the post details while your media is uploading — Rooli handles the upload in the background so you don't lose time waiting.
Step 4: Select Your Content Type
Below the media section, you'll see a Content Type dropdown. By default it's set to Post. Click the dropdown if you need to change the content type — for example if you're scheduling a Story or a Reel specifically.
Step 5: Assign to a Campaign (Optional)
If you're running a specific campaign — a product launch, a promotional period, or a content series — you can assign this post to a campaign using the Campaign dropdown. This is optional but useful for tracking grouped content performance later in your Analytics.
Step 6: Select Where to Publish
Scroll down to the Publish to section. Here you'll see all your connected social media accounts listed — Facebook, Instagram, TikTok, and any others you've linked. Select the platforms you want this post to go live on.
You can select one platform or all of them at once. If you select multiple platforms, Rooli publishes the same post to all of them simultaneously — saving you the time of posting manually to each one.
Pro Tip: If you need slightly different captions for different platforms — for example a more professional tone on LinkedIn versus a casual one on Instagram — use the Override Content option to customise the caption per platform without creating separate posts.
Step 7: Set Your Timezone and Schedule Time
Below the Publish to section, you'll see:
• Timezone — Rooli automatically sets this to West Africa Time (WAT) for Nigerian users. You can change this if you're scheduling for an audience in a different timezone.
• Schedule At — Click the date and time field to choose exactly when you want your post to go live. Select your date, hour, and minute.
Pro Tip: For Nigerian audiences, the best times to post are generally 7–9am, 12–2pm, and 7–10pm. These are the windows when most people are on their phones — during the morning commute, lunch break, and evening wind-down.
Step 8: Hit Schedule Post
Once everything is filled in — caption, media, platforms, date and time — click the Schedule Post button at the bottom of the panel. Your post is now in the queue.
You'll see it appear on your Content Scheduler calendar on the date you selected. Rooli will publish it automatically at the time you set — no need to be online, no reminder needed.
How to Edit or Delete a Scheduled Post
Changed your mind after scheduling? No problem. Go back to your Content Scheduler and find the post on the calendar. Click on it to open the post details. From there you can:
• Edit the caption, media, platforms, or schedule time
• Move it to Drafts if it's not ready yet
• Delete it entirely using the red trash icon at the top of the Create New Post panel
Batch Scheduling: How to Plan a Full Week in One Sitting
The most effective way to use Rooli's Content Scheduler is to batch your content — meaning you sit down once and schedule everything for the entire week at the same time.
Here's a simple workflow:
• Pick one day per week for content planning — Sunday evenings or Monday mornings work well
• Open your Content Scheduler and switch to Week view
• Create and schedule one post per day across your chosen platforms
• Use AI Assist to speed up caption writing if you get stuck
• Once all posts are scheduled, close the dashboard and focus on other work — Rooli handles the rest
This approach means your social media presence stays consistent even during your busiest weeks, power cuts, or off days — because everything is already queued and ready to go.
Frequently Asked Questions
Can I schedule posts to multiple platforms at the same time?
Yes. In the Publish to section of the Create New Post panel, simply select all the platforms you want. Rooli will publish to all selected platforms simultaneously at the scheduled time.
What happens if I don't have my social accounts connected yet?
You'll see a 'Connect Social Accounts' prompt in the Publish to section instead of your platforms. Follow our guide on How to Connect Your Social Media Accounts to Rooli first, then come back to schedule your posts.
Can I schedule videos, not just images?
Yes. Rooli supports both images and videos in the media upload section. Videos must be under 8MB per file. You can upload up to 5 files per post.
What if I want a slightly different caption for Instagram versus LinkedIn?
Use the Override Content feature in the Create New Post panel. It lets you customise the caption for specific platforms without creating separate posts entirely.
Is there a limit to how many posts I can schedule?
This depends on your plan. Check rooli.co/pricing for the full breakdown of what each plan includes in terms of scheduling limits and social profiles.
What timezone does Rooli use?
Rooli automatically defaults to West Africa Time (WAT) for Nigerian users. You can change this to any timezone in the Schedule At section when creating a post.
You're Ready to Schedule
Scheduling your social media posts with Rooli is one of the highest-leverage habits you can build as a Nigerian business owner or social media manager. A single planning session every week means your accounts stay active, consistent, and professional — without the daily stress of remembering to post.
Up next: How to Use Rooli's AI to Write Captions and Hashtags in Seconds — and never stare at a blank caption box again.
rooli.co • AI-Powered Social Media Management Built for Africa