Most social media accounts don't fail because of bad content. They fail because of no content — missed days, last-minute posts, and the exhausting cycle of waking up every morning with nothing ready to publish.
The fix isn't working harder. It's planning smarter. And Rooli's Content Scheduler was built exactly for this — to help you sit down once, plan your entire week, and walk away knowing every post is handled.
This guide walks you through a simple, repeatable system for planning a full week of social media content using Rooli — from choosing your content pillars to scheduling your last post of the week.
What You'll Need Before You Start
Before you open your Content Scheduler, have these ready:
• An active Rooli account with at least one social media account connected
• A clear idea of your content pillars — the recurring themes your brand posts about
• Your Brand Kit set up inside Rooli — tone of voice, audience notes, brand details
• A rough idea of how many times per week you want to post on each platform
💡 Pro Tip: Do your weekly planning session on Friday or Sunday. That way your entire week is scheduled before Monday begins — and you start every week ahead, not behind.
Step 1: Define Your Content Pillars
Content pillars are the recurring themes your brand consistently posts about. They give your content direction and make planning infinitely faster — because instead of starting from a blank page every day, you already know what category each day belongs to.
For most African businesses and social media managers, a solid set of pillars looks like this:
• Education — Tips, how-tos, industry insights, tutorials
• Engagement — Questions, polls, relatable content, conversation starters
• Brand Awareness — Who you are, what you stand for, your story
• Conversion — Product features, pricing, testimonials, CTAs
• Social Proof — Reviews, user-generated content, results, case studies
You don't need all five. Pick three to four that make sense for your brand and assign each one to a day of the week. For example:
• Monday — Education
• Tuesday — Engagement
• Wednesday — Brand Awareness
• Thursday — Conversion
• Friday — Social Proof or Relatable Content
• Weekend — Light content, quotes, community posts
💡 Pro Tip: Once you've assigned pillars to days, your weekly planning becomes a fill-in-the-blanks exercise — not a creative sprint from scratch. Consistency builds trust with both your audience and the algorithm.
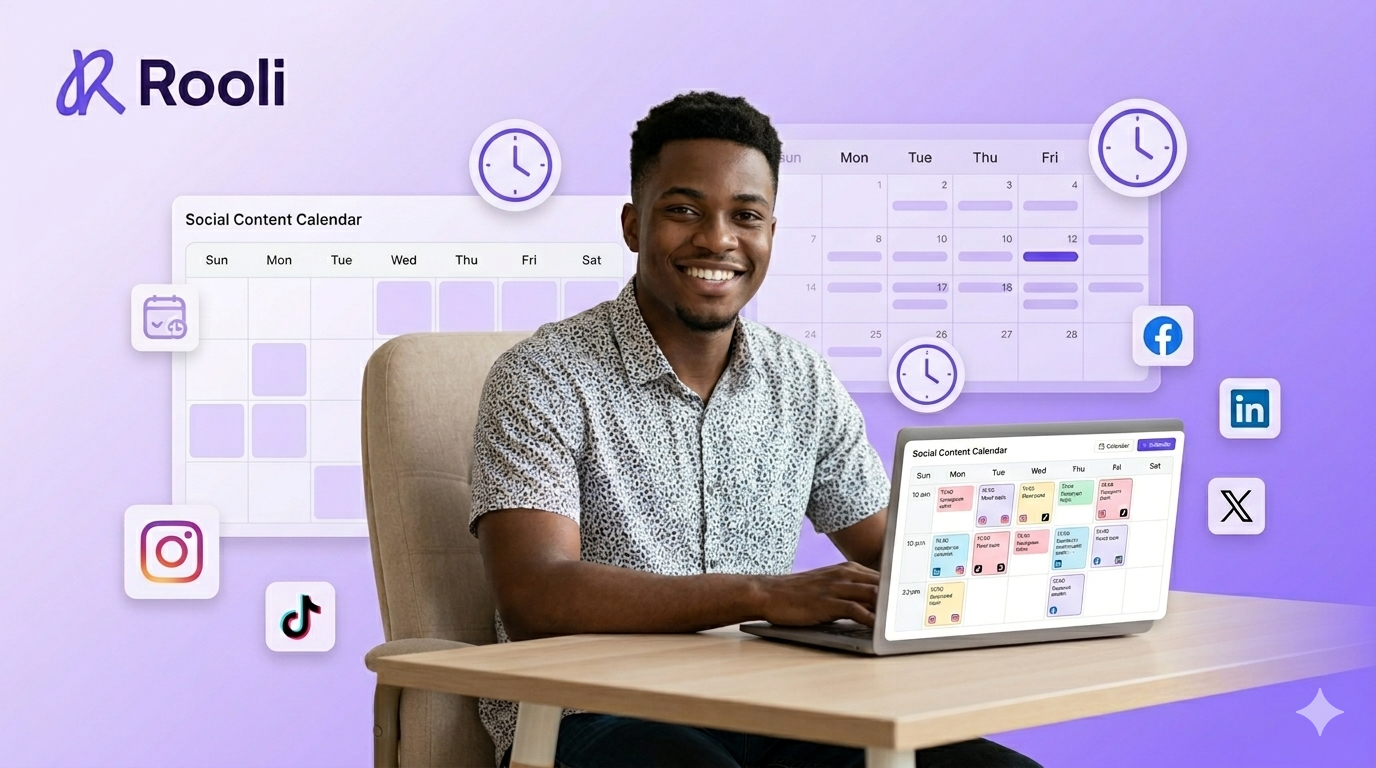
Step 2: Open Your Content Scheduler
Log in to your Rooli dashboard and click Content Scheduler in the sidebar. You'll land on your scheduling homepage which shows four key stats at a glance:
• Scheduled — how many posts are lined up for this week
• Drafts — posts you've saved but not yet scheduled
• Published — posts that have already gone live this month
• Platforms — how many social accounts are currently connected
From here, toggle between Month view and Week view depending on how you prefer to plan. Week view shows each day of the current week with a + button to add posts to any specific day. Month view gives you the full picture across all four weeks at once.
💡 Pro Tip: Use Month view when planning your content pillars and Week view when you're actually creating and scheduling individual posts. The two views work together — one for strategy, one for execution.
Step 3: Create Your Posts Day by Day
Now it's time to build out the week. Work through each day one at a time, following your pillar assignment.
To create a post:
1. On mobile — tap the + button next to the day you want to schedule for. On desktop — click the Create Post button in your dashboard.
2. A Create New Post panel will open. Select Compose to write your own caption, or AI Assist to let Rooli's AI generate one for you.
3. Write or generate your caption. If using AI Assist, give it your content pillar and a specific prompt — for example: 'Monday Education post about why consistency matters on Instagram. Audience: Nigerian SMMs. Conversational tone.'
4. Upload your image or video. You can drag and drop directly into the post editor.
5. Select which platforms you want this post to publish to — Instagram, TikTok, Facebook, LinkedIn, X, or any combination.
6. Use the Schedule At field to set your exact publish date and time.
7. Optionally assign the post to a Campaign if it's part of a broader content push — a product launch, a promotion, or a themed series.
8. Hit Create Post. The post is now locked into your calendar and will publish automatically at the time you set.
Repeat this for every day of the week. A full week of content — five to seven posts — should take between 45 minutes and 90 minutes depending on how much you're using AI Assist versus writing manually.
💡 Pro Tip: Use the Override Content feature when you want the same post to go out on multiple platforms but with slightly different copy. For example — the same image with a LinkedIn-optimised caption on LinkedIn and a more casual caption on Instagram. One post, two voices.
Step 4: Use AI Assist to Speed Up Caption Writing
If you're staring at a blank caption field, open the AI Assist tab instead of the Compose tab. Rooli's AI Assistant is connected directly to your post creation flow — just describe what you want and it generates a ready-to-use caption in seconds.
For best results, give the AI three things in your prompt:
• What the post is about — the specific topic or message
• Who it's for — your target audience
• What action you want them to take — comment, click, save, share
Example of a strong AI prompt for a Monday Education post:
'Write an Instagram caption explaining why social media managers should plan content a week in advance. Audience: Nigerian SMMs aged 20-35. Conversational and warm tone. End with a question to drive comments.'
The AI will produce a full caption — including hashtags if you're posting to Instagram or TikTok. Review it, edit where needed, and paste it into your post. Done.
Step 5: Review and Confirm Your Week
Once all seven days are scheduled, take a final pass through your Week view before closing out your planning session. Check for:
• Gaps — any days with nothing scheduled that should have content
• Platform coverage — are all your connected platforms getting posts this week?
• Pillar balance — are you covering Education, Engagement, and Conversion across the week, or is it all one type?
• Timing — are your posts scheduled at times when your audience is most active?
Best posting times for Nigerian audiences as a general guide:
• Instagram and TikTok — 7am to 9am and 7pm to 10pm
• Facebook — 8am to 10am and 6pm to 9pm
• LinkedIn — 8am to 10am Tuesday through Thursday
• X (Twitter) — 8am to 11am and 6pm to 9pm
💡 Pro Tip: Check your Rooli Analytics after the first two weeks to see when your specific audience is most active. Use those numbers to override the general guidelines — your real data is always more accurate than averages.
The Weekly Planning System That Works
Here is the complete system condensed into a repeatable routine you can run every week in under 90 minutes:
1. Friday or Sunday — sit down with your content pillars and decide what each day of next week is about
2. Open Content Scheduler in Rooli — switch to Week view
3. Work through Monday to Sunday — create one post per day using Compose or AI Assist
4. Set the date, time, and platforms for each post
5. Do a final review — check for gaps, pillar balance, and platform coverage
6. Walk away. Rooli publishes everything automatically
That's it. No daily scrambling. No last-minute captions. No missed posting days. Just a calm, consistent presence across every platform — built in one sitting.
Frequently Asked Questions
How far in advance can I schedule posts in Rooli?
You can schedule posts as far ahead as you need — days, weeks, or months in advance. There's no limit on how far forward you can plan.
Can I schedule different content for different platforms in the same post?
Yes. When creating a post, use the Override Content feature to write platform-specific captions for the same visual. This way, your LinkedIn caption can be more professional while your Instagram caption stays casual — all from the same post creation screen.
What if I want to reschedule a post after I've already saved it?
On mobile, you can drag and drop posts directly on the calendar to move them to a different day. On desktop, open the post and update the Schedule At field to your new date and time.
Can I save a post as a draft instead of scheduling it immediately?
Yes. When creating a post, click Save Draft instead of Create Post. Your draft will appear in the Drafts section of your Content Scheduler homepage and can be scheduled later when you're ready.
Can I plan content for multiple clients in the same Rooli account?
Yes — through Rooli's Workspace feature. Each client gets their own separate workspace with its own connected accounts, content scheduler, and analytics. Switch between client workspaces with one click from your sidebar. The Business plan supports 1 workspace, the Rocket plan supports 5, and Enterprise offers unlimited workspaces.
Is there a content calendar view that shows all platforms at once?
Yes. Both the Month and Week views in Rooli's Content Scheduler show all your scheduled posts across all connected platforms in a single calendar view. You can see exactly what's going out, when, and where — all in one place.
Week Planned. Now Let's Track It.
You've set up your content pillars, built out a full week of scheduled posts, and let Rooli handle the publishing automatically. The next step is understanding what's actually working — so next week's plan is even sharper than this one.
Up next: How to Track Your Social Media Analytics and Growth Using Rooli — the simple weekly review that turns data into better content.
rooli.co • AI-Powered Social Media Management Built for Africa